


Cue the spooky piano music—yep, we’re diving into essay writing. That means tackling structure, styles, and step-by-step instructions. Scary? Maybe. But only until we break it all down for you.
Once we’re done, writing an essay won’t feel like a monster under your bed—it’ll be more like a well-trained puppy. With the tips and techniques we’re about to share on ways to use Quillbot, you’ll be writing with confidence in no time.

7 Smart Ways to Use QuillBot for Writing Better Essays
The secret to writing a flawless essay isn’t just about putting words on a page—it is about mastering the process. We’ve broken essay writing down into 7 super-simple, stress-free steps.
Follow this blueprint, and you will never dread an essay assignment again. Pinky swear.
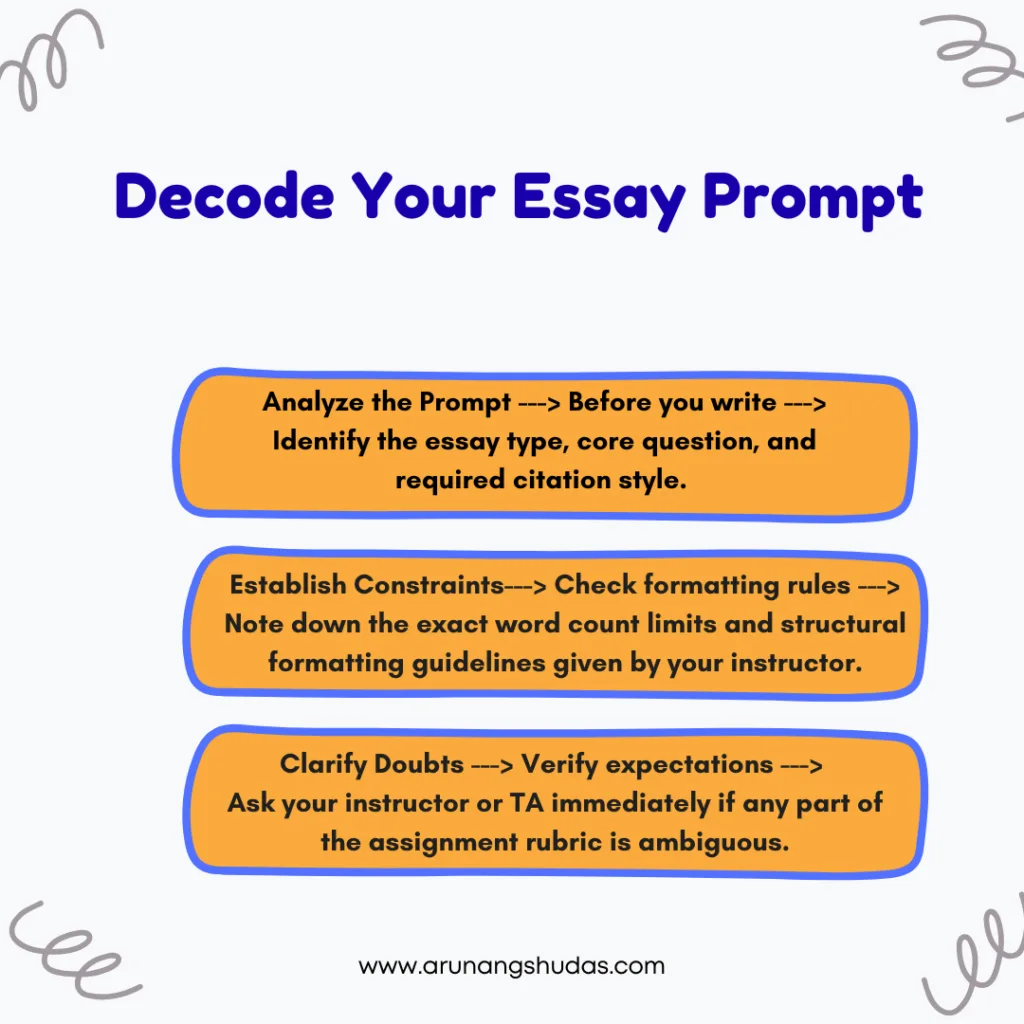
Step 1: Decode Your Essay Prompt (Know What’s Being Asked)
It sounds incredibly obvious, but skipping this step is the single biggest mistake students make. Draining your energy by diving straight into writing without a clear roadmap leads to off-topic paragraphs and lost marks.
Before you type a single word, pull out your assignment sheet and explicitly answer these core questions:
- What is the target word count? (This dictates how deeply you need to explore your arguments).
- What format or citation style is required? (APA, MLA, Chicago, etc.).
- What type of essay are you writing? (Argumentative, narrative, expository, or persuasive).
💡 Pro Tip: Make sure you are completely clear on your instructor’s expectations upfront. If a prompt or grading rubric feels confusing, send a quick email to your teacher or professor. Getting clarification now saves major rewriting headaches later.
The 4 Primary Types of Essays
Each essay falls under one of these main categories (which match up with writing styles you’ve probably heard of).
- Narrative Essay
Think storytelling. Narrative essays include personal stories, reflections, or book reports. The goal is to follow a theme or motif through a clear sequence.
- Argumentative Essay
Unlike persuasive writing, which appeals to emotion, argumentative essays are grounded in facts and logic. The aim? Convince readers by showing your reasoning, not just telling them what to believe.
- Descriptive Essay
This one paints a picture. Using vivid language and sensory detail, the writer describes a person, place, object, or event in depth.
- Expository Essay
Here, the goal is to explain—not persuade. An expository essay gives readers a factual, unbiased overview of a topic, breaking it down clearly and concisely.
Step 2: Brainstorm Engaging Topics & Collect Sources
Now that you understand the assignment rules, it’s time to choose your angle. If you are staring at a blank screen feeling completely stuck, take a deep breath.
The secret to great brainstorming is to keep your internal critic on mute. Start by listing every single idea that pops into your head—no judgment allowed.
💡 Use Visual Mapping and Contextual Research
To turn a messy list of ideas into a structured essay angle, try these two techniques:
- Mind Mapping: Connect your thoughts visually. Using free online mind map tools makes it incredibly easy to see how different arguments link together.
- Theme Exploration: If you are writing a literary analysis or a research paper, look up the broader historical and cultural context of your subject.
Step 3: Choose Your Angle (Craft Your Unique Stance)
Your “angle” is your unique perspective, stance, or central argument regarding your topic. This is where you transform a generic subject into a compelling, voice-driven paper. It is the foundation of your entire essay.
For example, if your broad topic is UFO sightings, your angle could take completely different directions:
- Angle A: They are advanced, classified military aircraft being tested in secret.
- Angle B: They represent genuine, statistically viable proof of extraterrestrial life.
Whichever take you choose, remember the golden rule of academic writing: you must back it up with credible evidence.
How to Speed Up Your Evidence Gathering
Finding an angle requires reading through piles of research, articles, and essays, which can quickly become overwhelming. To protect your time and avoid information overload, change your approach to reading:
QuillBot Smart Move: Run your dense research papers and long-form articles through QuillBot’s Summarizer tool. Instead of spending hours reading pages of fluff, you can instantly extract key findings, core arguments, and high-level overviews. This allows you to evaluate sources in seconds and shape a rock-solid argument efficiently.a never-ending chore. With the right tools and planning, it can be smooth, structured, and even satisfying.
Step 4: Map Your Roadmap (Create an Outline)
Skipping your outline is the absolute fastest way to make essay writing twice as hard as it needs to be. Don’t do it. Think of an outline as your project roadmap—once it’s built, writing the actual paper is just a matter of filling in the blanks.
A well-crafted outline allows you to:
- Organize your ideas in a logical progression.
- Spot evidence gaps before you waste time writing weak paragraphs.
- Structure your narrative flow seamlessly from the introduction to the conclusion.
The Topic Sentence Strategy
A simple bulleted list works perfectly for an outline. To make drafting effortless, write out your topic sentences directly in the outline. The topic sentence is the very first line of a body paragraph; it acts as a transition and a mini-thesis statement for that specific section.
Drafting these early ensures smooth paragraph transitions and completely eliminates that frustrating, middle-of-the-page realization: “Wait, what was I trying to say here?”
Step 5: Write Your First Draft (Embrace the Mess)
Here is the golden rule of drafting: Do not edit while you write.
The drafting phase is strictly about transferring your ideas from your brain to the page. Follow your outline, type continuously, and let your thoughts flow—even if the sentences feel clunky or unpolished.
⚡ Defeating Creative Fatigue and Writer’s Block
It is completely normal to run out of steam or hit a wall mid-draft. When you find yourself staring at an awkward sentence and losing your writing momentum, don’t stall out.
QuillBot Smart Move: Paste a clunky or repetitive sentence into QuillBot’s Paraphrasing Tool. It will instantly generate fresh phrasing, spark new ways to express your thoughts, and help you maintain your writing rhythm without breaking your creative flow.
Step 6: Edit and Refine Like a Pro
Congratulations on finishing the rough draft! However, your work isn’t quite ready for submission. The editing phase is where you polish raw text into an A+ academic paper.
For the best results, break your editing pass into three distinct layers:
- Content & Structure Editing: Rework confusing sections, verify that your arguments directly support your thesis, and eliminate repetitive points.
- Grammar & Fluency: Fix spelling mistakes, punctuation errors, and awkward sentence structures.
- Style & Formatting: Double-check your citation formatting (MLA, APA, etc.) and ensure tone consistency.
💡 Pro Tip: Read your final essay out loud. Your ears will naturally catch awkward pacing, run-on sentences, and missing words that your eyes skipped over during silent reading.
Step 7: Final Review and Submission
Once your formatting is triple-checked and your citations are perfectly aligned, you are ready to hit submit. Take a bow—you’ve successfully turned a stressful assignment into a structured, manageable workflow!
The Ultimate Essay Writer’s Toolkit
You do not have to tackle academic writing completely on your own. Integrating dedicated, AI-powered writing tools into your workflow saves massive amounts of time and energy at every single step of the process.
| Tool Name | Best Used For | Essay Writing Benefit |
| QuillBot Flow | All-in-one writing environment | Combines research, note-taking, and drafting inside a single workspace. |
| Summarizer | Source evaluation & text condensing | Extracts key insights from long research papers in seconds to speed up reading. |
| Paraphraser | Fluency, vocabulary, & sentence structure | Rewrites awkward phrasing instantly to maintain your writing momentum. |
| Grammar Checker | Final editing & proofreading | Automatically catches hidden punctuation, spelling, and contextual errors. |
| Citation Generator | Bibliography & reference tracking | Formats sources in APA, MLA, or Chicago style the exact moment you find them. |

Final Thoughts – Ways To Use Quillbot To Write Essay
Essay writing can feel intimidating—but it doesn’t have to stay that way. When you break the process down into simple steps and use the right tools, it becomes much easier to manage (and even enjoy).
Whether you’re brainstorming ideas, drafting your first paragraph, or editing your final version, tools like QuillBot’s Flow, Paraphraser, Summarizer, and Grammar Checker are here to help at every stage. They’re designed to take the pressure off and make writing faster, smarter, and less frustrating.
So if you’re ready to stop stressing and start writing with confidence—
Try QuillBot today and experience the difference for yourself.
Frequently Ask Question:
1. Why shouldn’t I edit my essay while writing the first draft?
Editing while you write breaks your creative momentum and leads to writer’s block. The drafting phase is simply about getting your ideas down on paper; you can always fix awkward sentences and grammar mistakes during the editing phase.
2. How does an outline save time during the writing process?
An outline acts as your structural roadmap. By mapping out your main arguments and topic sentences before you start writing, you eliminate guesswork, prevent structural errors, and turn drafting into a simple matter of filling in the blanks.
3. What is the fastest way to understand long research articles?
Instead of spending hours reading fluff, run dense academic articles through QuillBot’s Summarizer. It instantly extracts the core arguments and high-level findings so you can evaluate sources in seconds.
4. Why is reading my essay out loud a crucial editing step?
Your eyes often skip over typos on a screen. Reading your paper out loud forces you to hear the rhythm of your text, making it incredibly easy to catch run-on sentences, missing words, and awkward transitions.
